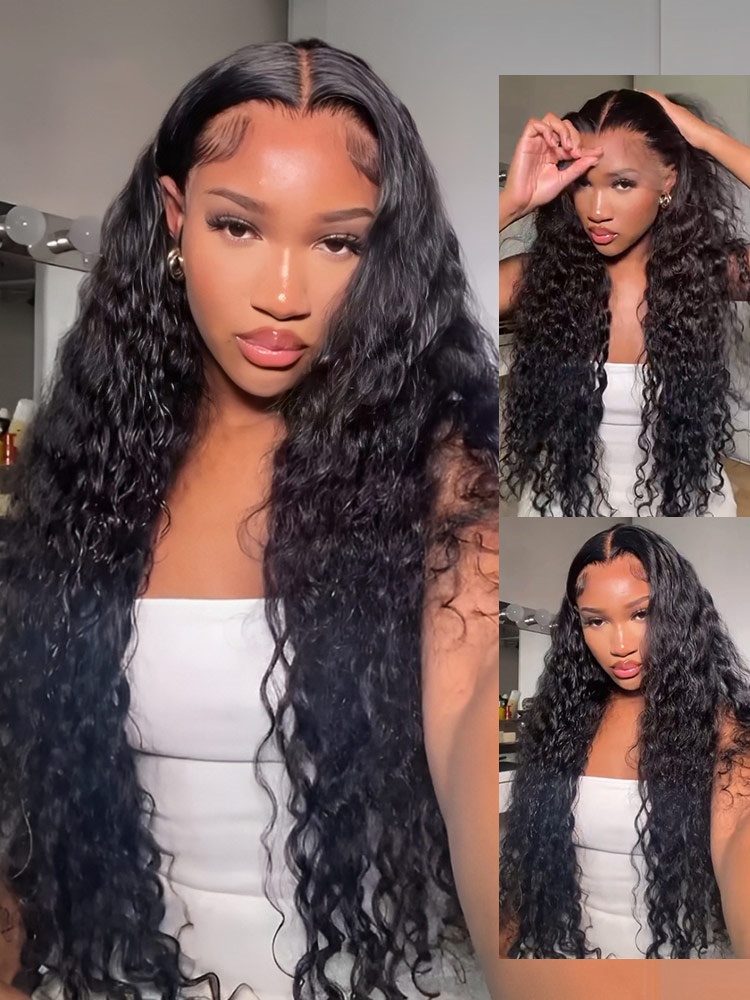
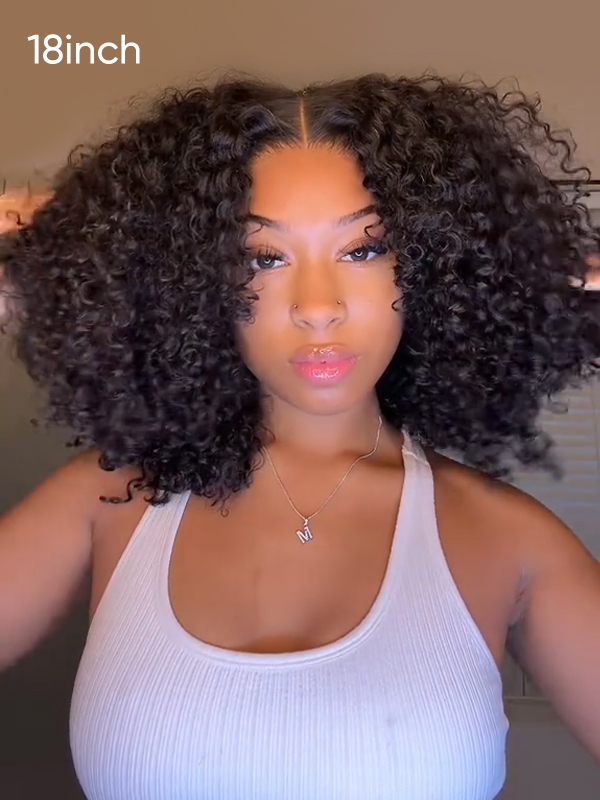
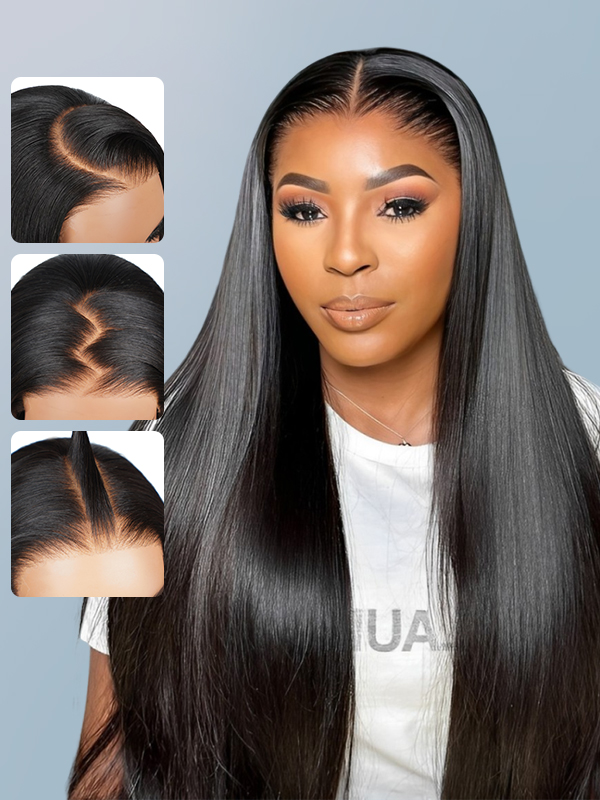
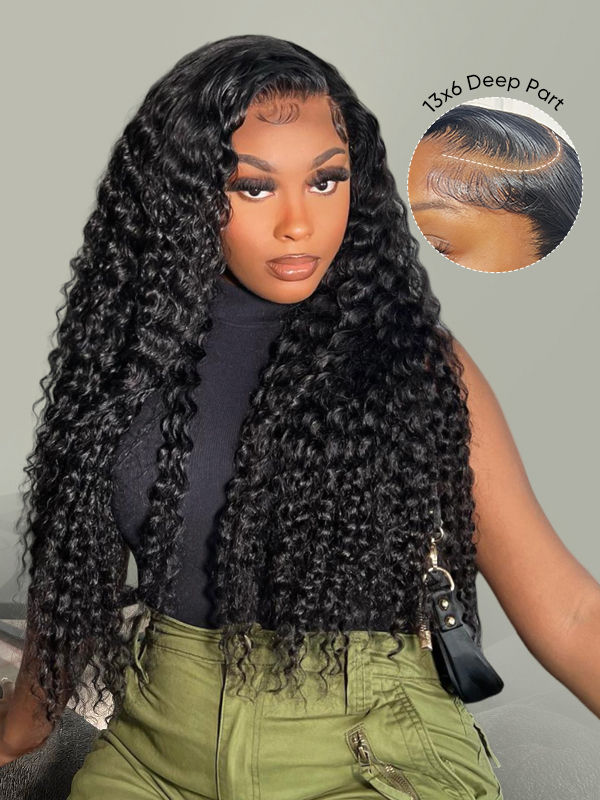
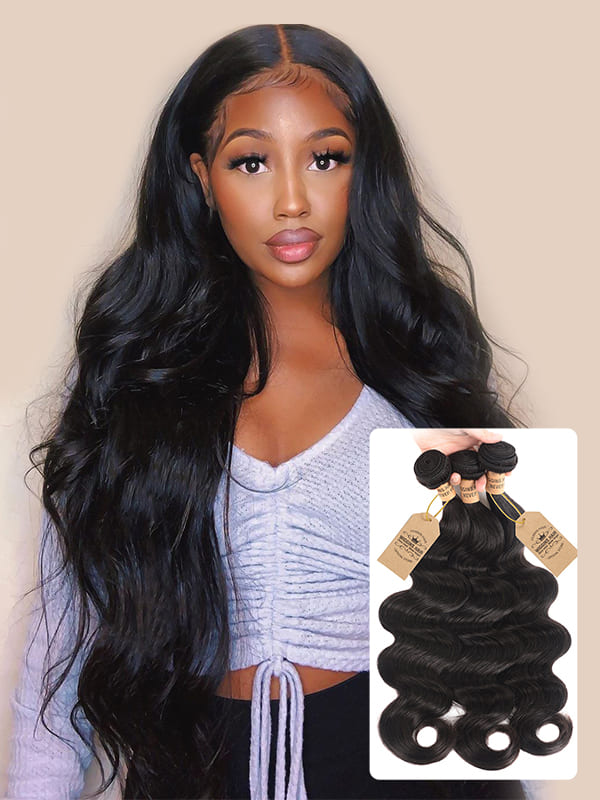
How to sew a wig? Discover the art of wig sewing, using our simple, expert-informed, step-by-step instructions to ensure each piece has a secure fit, looks natural, and has a long-lasting style.

To obtain a secure, realistic-looking wig tailored specifically for you, you must learn the art of wig making and, more importantly, wig adjusting. Most folks think wig making is just that: the actual making of the wig. But there's a lot more to it than that! In the following, we will cover not only how to sew a wig but also how to get the wig fit just right, style the wig, and make and use a wig cap.
Choosing the Right Wig Cap and Materials
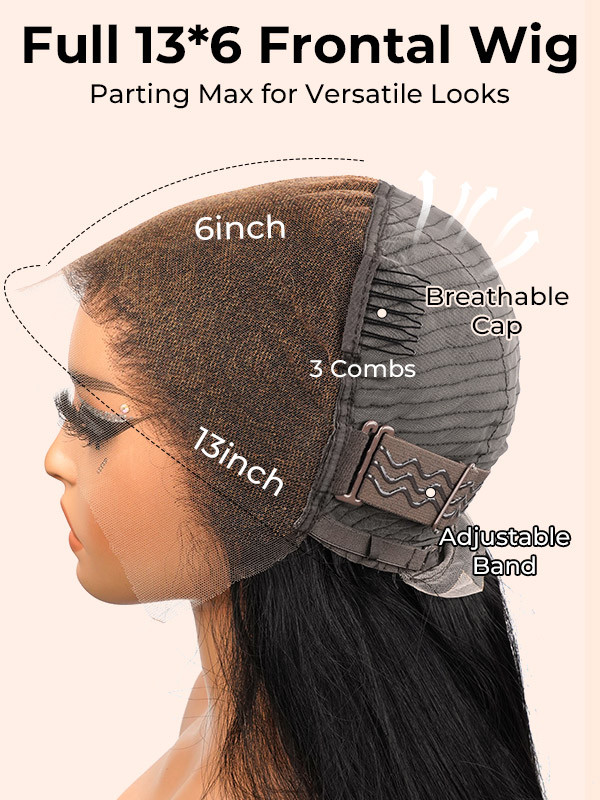
The highest-quality wig cap appropriate for your head size and the wig you want to create is where the process starts. Several types of wig caps exist, such as dome caps, mesh caps, and lace wig caps, and each has its distinct advantages. Dome caps are great for stretch, mesh caps are fantastic for breathability, and lace wig caps allow for the most customization.
Depending on your needs, make the right choice. Next, curve-tipped needles are recommended along with sturdy thread. The heavy hair bundles you're about to work with require durable demand stitching. After that, trusty scissors and T-pins will illuminate your next steps.
Securing the Cap and Mapping the Layout
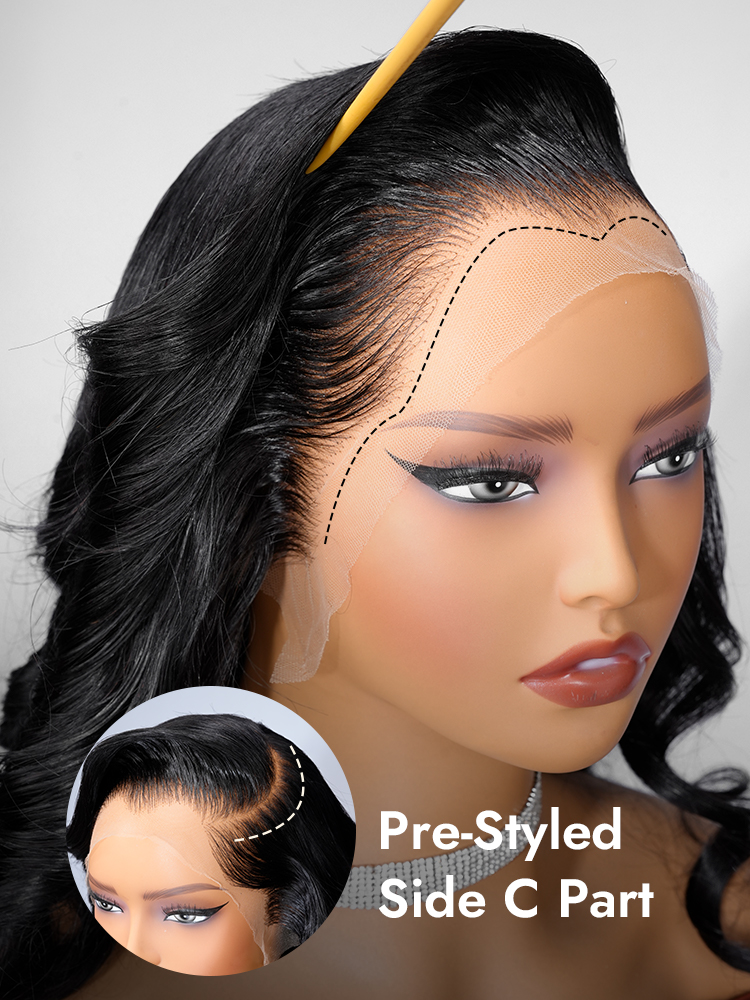
Before beginning the sewing process, secure the wig cap to a mannequin head or wig stand. Use T-pins to anchor the cap, making sure that it will not shift during the process. Next, with a white eyeliner pencil or tailor's chalk, outline the parting area, as well as the tracks where each bundle will be sewn. This is the layout stage. The more detailed and precise the layout, the better the outcome. You should also decide at this stage if you want a middle part, a side part, or a full coverage unit. This decision will impact bundle placement.
Stitching Bundles for a Natural Look
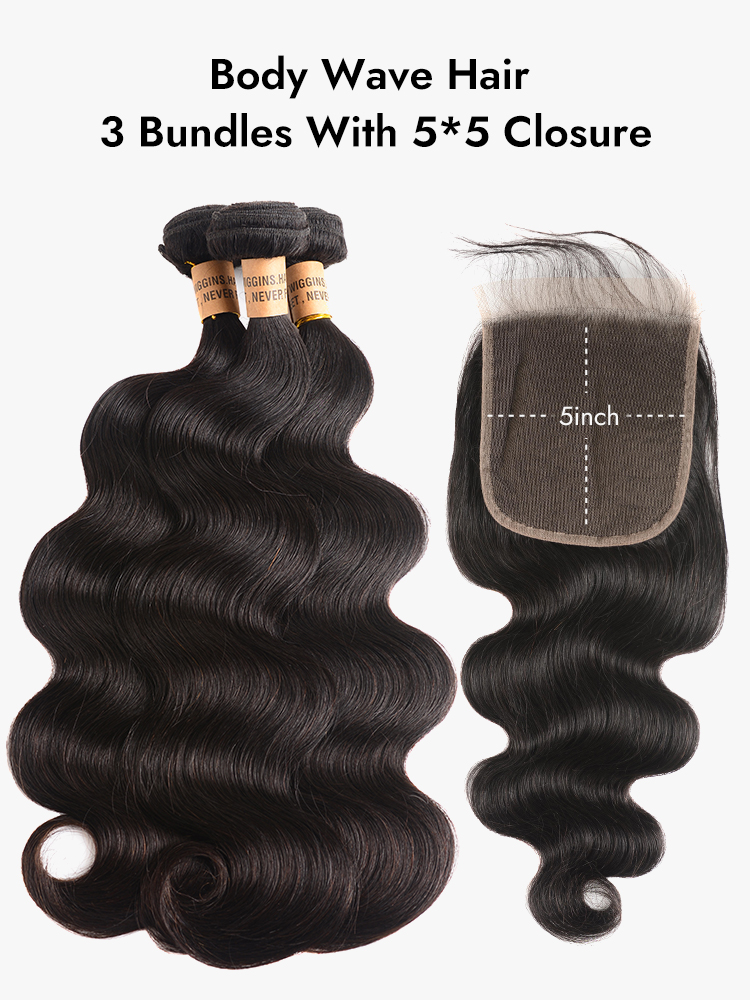
The layout is complete; now attach the hair bundles to the wig cap, starting from the nape of the neck and working up to the crown. If you want a super-full, finished product, use the fold-over method. If you want something sleeker (and less bulky), cut the wefts.
Each stitch should be tight and consistent, and every few stitches you make, tie a knot to prevent the stitches from unravelling. When you're sewing the bundles into the areas around the lace closure, make sure to place them as close together as possible for a natural-looking finish. At the top of your wig, place the lace closure or frontal and secure it with small, tight stitches.
Customising the Fit and Finishing Touches
Once the entire unit is stitched together, assess its fit by trying the wig on. If it seems snug or too loose, the addition of an adjustable band of elastic or extra combs inside the cap may help secure it. This step enables one to wear the wig with or without glue while minimising movement and maximising comfort.
With the cap snug, the next step involves lace trimming. Excess lace around the frontal is the first to go. The second step is less about trimming and more about using judgment: Is a more pronounced or a less pronounced hairline more suitable for this wig? The answer to that question will dictate how much plucking to do.
The third step is to style the wig. Hot tools and/or styling products can be employed, and this step may result in either a flipped or a somewhat natural-looking hair situation.
Wig Maintenance and Repairs
Once you have mastered the skill of how to sew a wig, routine upkeep and repairs can become standard. Variation in wigs also calls for the need to adjust webs, either changing the size and/or altering the placement of the web itself.
Variation in wig styles also requires changing the method of securing the wig. You can construct a web using a variety of materials, some of which are better suited for certain wig types. Over time, if the wig starts to loosen or shift, open up the interior and restitch specific areas, which is far more cost-effective than replacing the entire unit.
Final Thoughts on DIY Wig Construction
Acquiring the ability how to sew a wig offers an unprecedented level of creative expression, unmatched by mass-produced options. You select the bundles, do the necessary stitching, and style in a way that best reflects your unique vision.
Retaining the skill of wig sewing allows for on-demand wig making that is affordable and surprisingly fast when you know what you’re doing. And there’s a lot of play in just the making of the wig: you can achieve a fit that is uncompromisingly for you, allowing for your specific hairline, scalp, and head shape.
Recommendation
If you want to take your sewing skills to the next level or if you need wigs that are unarguably top-notch in construction, WIGGINSHAIR is a great source for that and much more. Our collections cater to both beginners and professional stylists seeking lasting, natural-looking results.
