


Learn the art, how to make clip-in hair extensions at home easily, with results that are as natural as can be, and that offer comfort and long-lasting beauty every day.
To effortlessly change up your hair without making a long-term commitment or a salon visit, the demand for versatile hair solutions has prospered. Of the countless ideas for temporary hairstyles, one of the most loved today—"clip-in extensions"—stays true to the others in that it offers an easy additive that improves the look of your hair. Here are those steps. If you know how to make clip-in hair extensions at home, you're using better tools than those the average extension-wearer would have access to.
Selecting the Right Hair Type and Tools for DIY Extensions
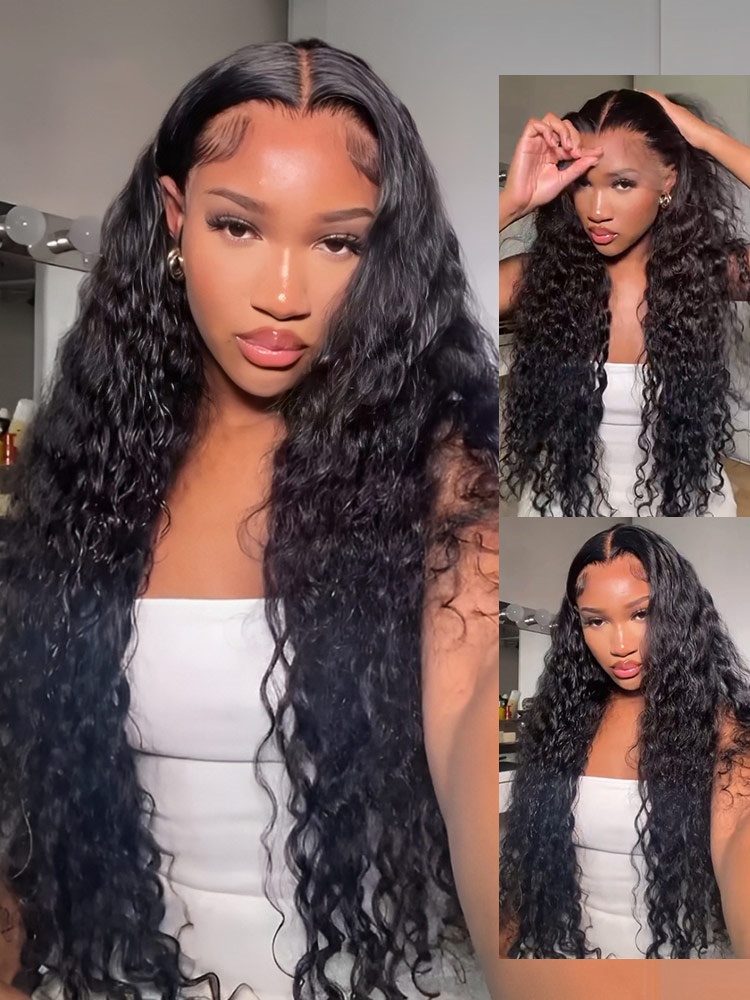
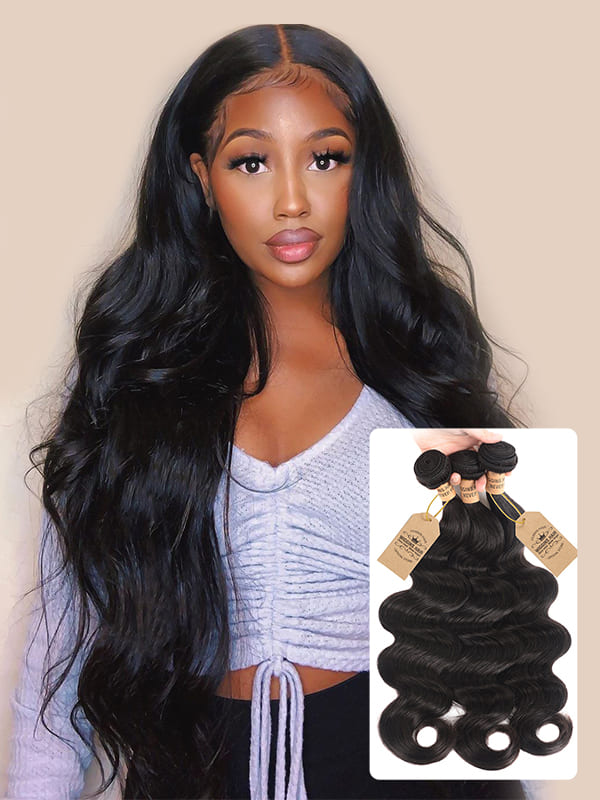
Making your clip-in extensions starts with the right hair. For the best effect and longest-lasting results, use 100% human hair. Unlike synthetic fibers, human hair has the flexibility and natural shine that make it easy to blend into your hair. And if you get matching wefts that are as close in color and texture as possible to your hair, you won't have any noticeable differences, even under close inspection or bright sunlight.
Once you have your hair, you'll need sturdy clips specially designed for hair extensions; a sharp pair of scissors; and either thread and a needle or bonding glue, if you're not into sewing. These are your basic tools. The next step is to measure out the wefts, so that you can achieve the sort of layered, volumized effect that's characteristic of good clip-in extensions.
Measuring, Cutting, and Preparing the Wefts
The following paragraphs guide you step by step through the process of how to make clip-in hair extensions. They start with the very first part of the process—the preparation—and lead you through to the very last step, which is clipping the extensions into your hair. All along, there are detailed explanations that cover all the necessary considerations for each decision you have to make.
Should you use Remy or non-Remy hair? Is it better to sew or glue the extensions? Should you layer them if you want more volume, and if so, how? These practical how-to instructions express a commonsensical authority about their subject matter. In doing so, they also make a persuasive argument for the kind of person you should be to achieve the desired outcome: a patient, careful, and very attentive to detail; in other words, a good craftsman.
Sewing or Gluing Clips to Each Weft with Care
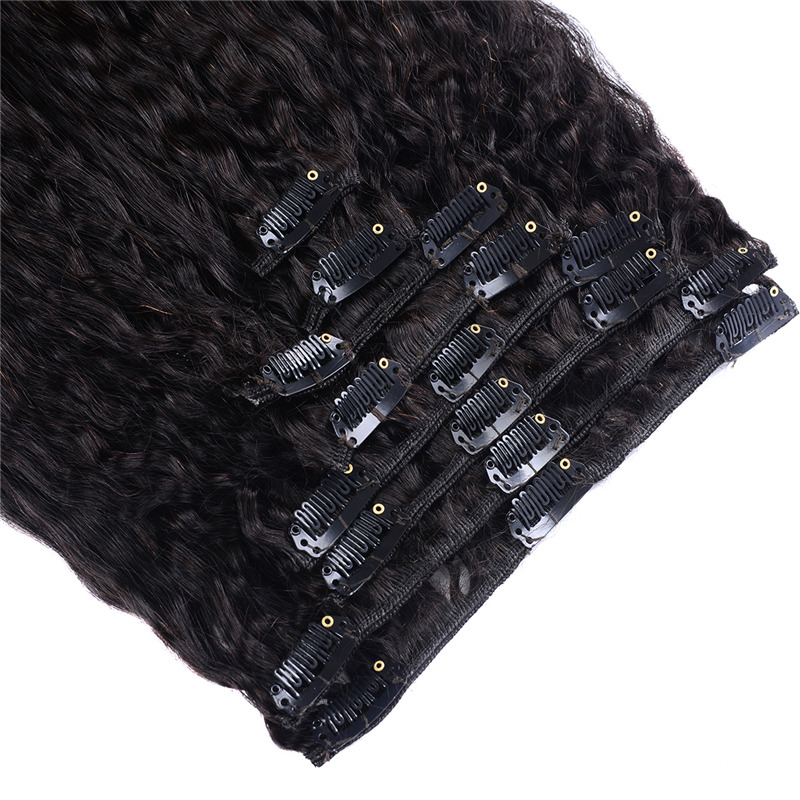
After preparing the wefts, you have to attach the clips securely. The reason is simple: You want the extensions to stay firmly in place all day long, whether you’re working, dancing, or just behaving normally. The most recommended technique is sewing; it’s by far the most reliable method.
When done correctly, it holds the clips firmly in place and keeps them from coming off (or wiggling) when you’re wearing the extensions. The process isn’t so hard that you need to be a professional seamstress, though it does require a little bit of patience and some skill with a needle and thread.
You have to get the tension just right: not so tight that it puts too much stress on the weft and the hair it’s attached to, and not so loose that the clip could come off or slip a little, which is what (to use an official term) we in the hair extension world call "wiggling."
If you prefer a quicker method, there are glues made for the hair and scalp that work well. Use them, and follow the instructions carefully. Probably the most important thing when using glue? Let it dry properly; it’s better to be safe than sorry. Once you have the clips attached, you want to wear these things like armor, not as some fragile, curly, bouncy, or (worst case scenario) lumpy metal hairstyle.
Blending, Styling, and Caring for Your Clip-Ins
Once you have completed your homemade extensions, integrating them into your natural hair is critical for achieving a seamless finish. This can be done by doing a light tease at the roots where the clips will attach (this helps them grip better) and then either curling or straightening the extensions to match whatever hairstyle you currently have.
Just remember to always apply a heat protectant before using any tools of destruction, especially on the extensions themselves. Regular brushing, washing with sulfate-free shampoo (yes, in an actual shower or bathtub—dry shampoo won't cut it here), and air-drying the extensions are your go-to moves for keeping them in a healthy, shiny place.
Customization Tips to Match Personal Hair Goals
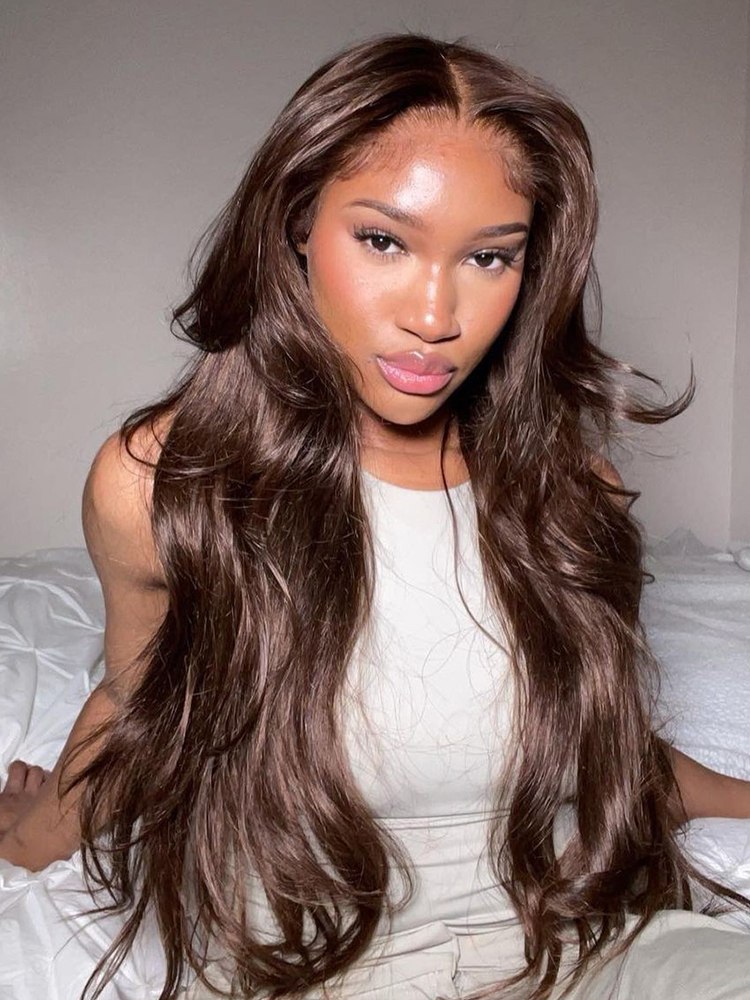
Although the most rudimentary form of how to make clip-in hair extensions is relatively straightforward, you can personalize the look further by dyeing the wefts to match the highlights or lowlights in your natural hair.
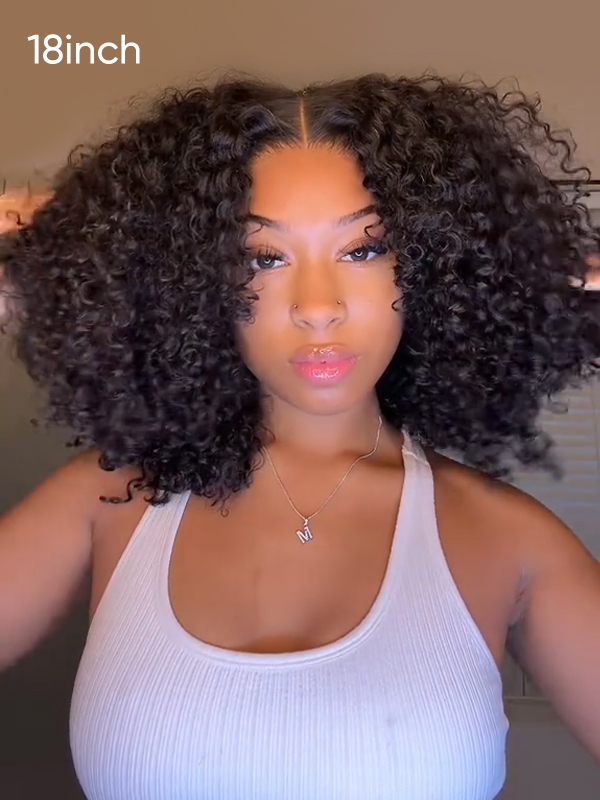
You can also add some edge to the look by creating feathered cuts and layering the pieces around the crown—the area where you want more volume—and at the nape of the neck, where seamless length is desired.
For women with thin hair, using lightweight pieces can avoid unnecessary tension on the scalp, whereas those with thick hair might find triple-wefted clips more to their liking. A key tip in mastering how to make clip-in hair extensions is to experiment by trying different placements and combinations until you find what works and feels both comfortable and flattering.
Recommendation
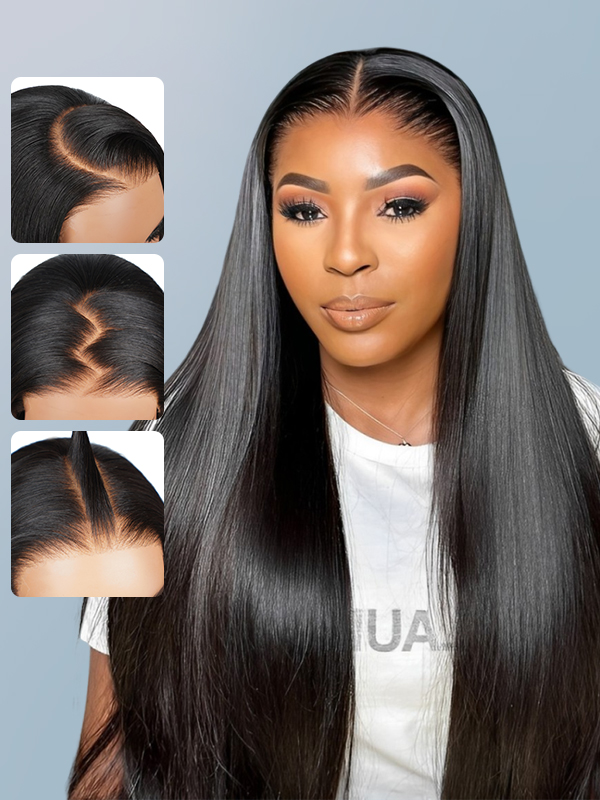
If you're looking to bypass the process of making hair extensions yet still want to bask in the glory of using some high-quality, ready-to-wear clip-in extensions, then look no further than WIGGINSHAIR. We offer an extensive array of high-class, 100% real human hair clip-ins, satisfying all manner of hair textures, colors, and styles with its clip-in options. Whether you're looking for a straight hairstyle or something with a little more wave and movement, we've got you covered.