


How to make a wig? Understand the process of creating a wig in a home setting with expert guidance on everything from the selection of appropriate materials to the necessary steps.
Making a wig by hand can be an incredibly rewarding experience, especially if you want a wig that expresses your style, and this article will look into how to make a wig. It's a chance to take control over the appearance and even the "personality" of your hairpiece. Wigs are often seen as something you put on your head when you're feeling delicate—you know, when you're not quite up to wearing your hair.
Choosing the Right Materials for a Natural Look
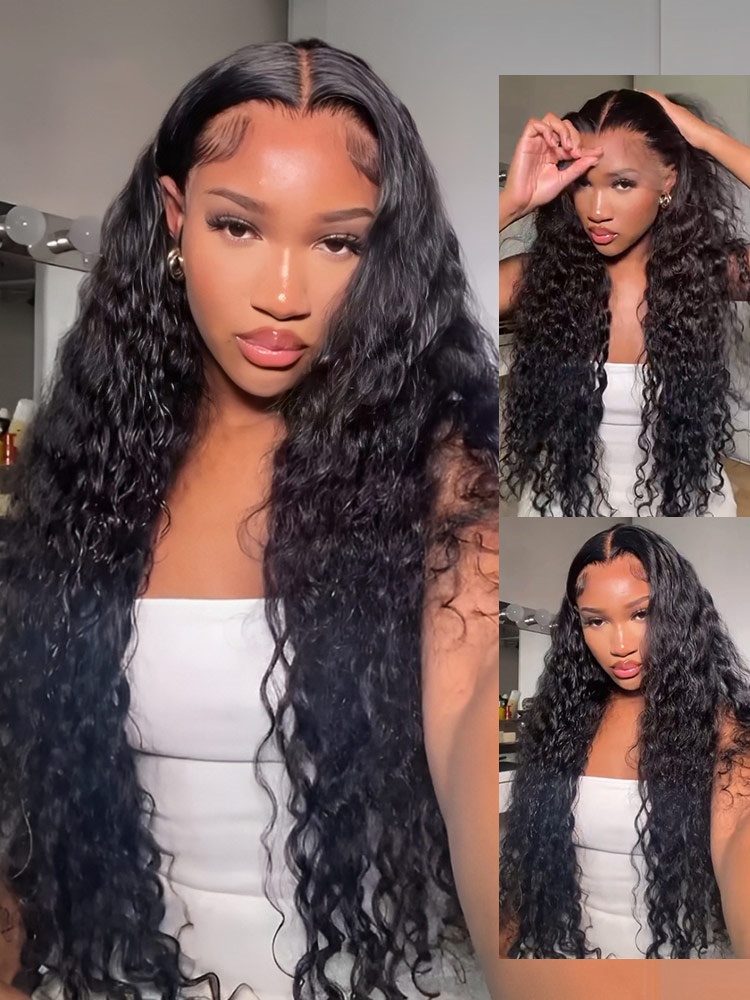
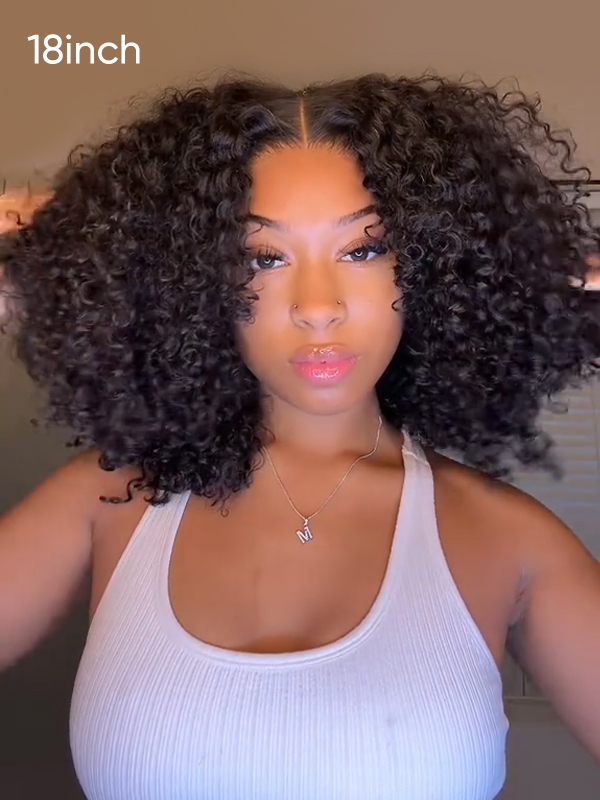
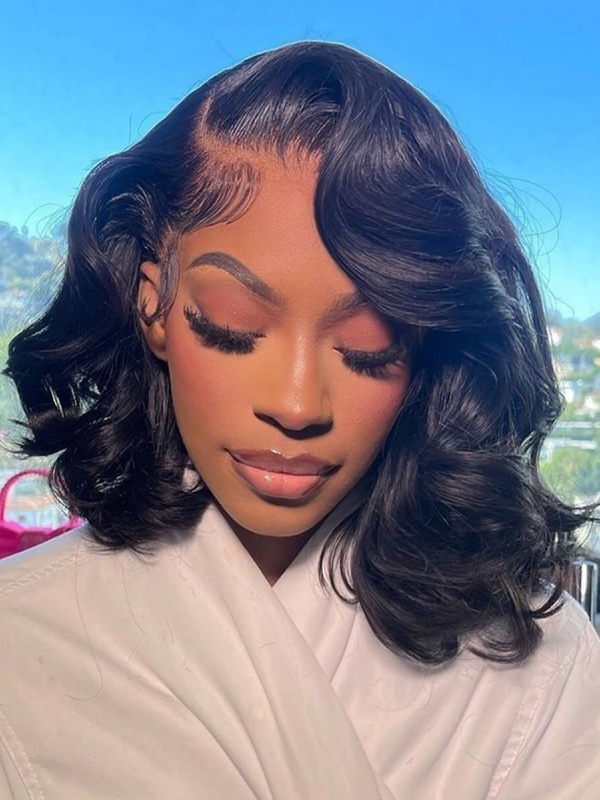
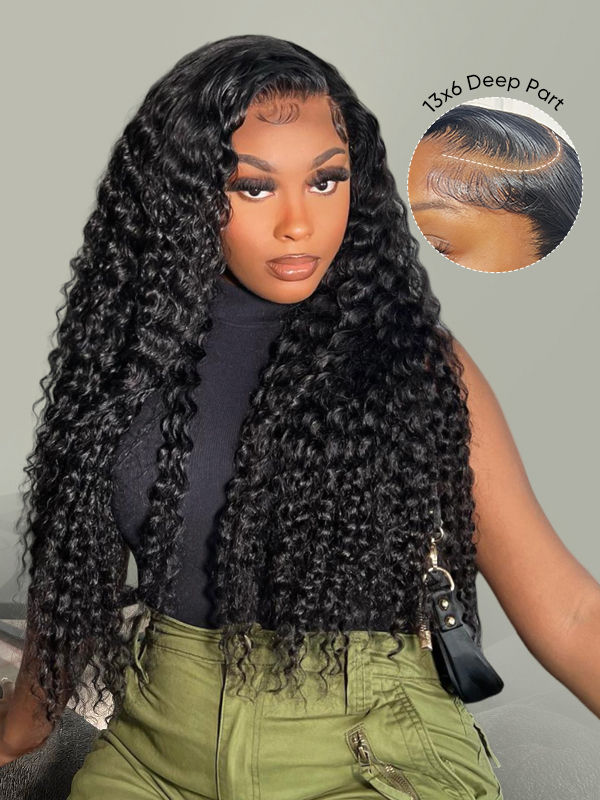
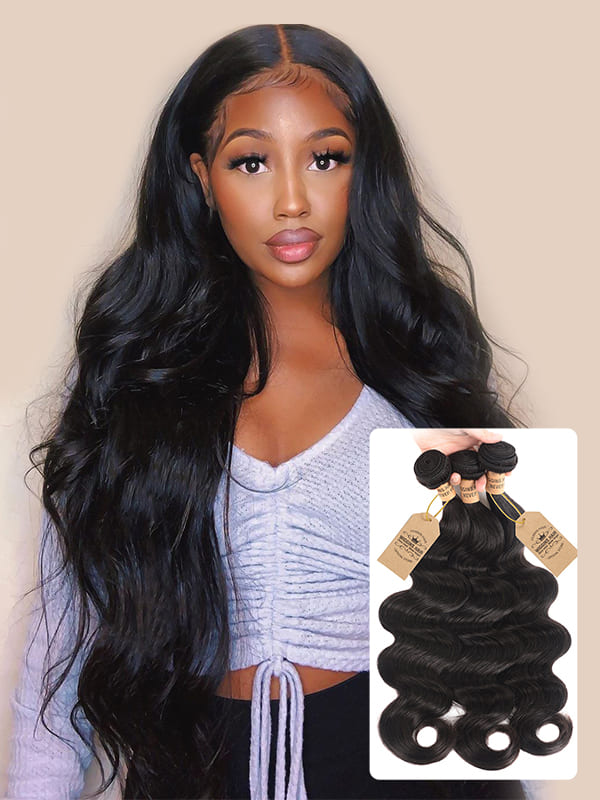
The key to a realistic wig that lasts? Start with premium 100% human hair. Unlike synthetic fibers, these natural strands give you that authentic shine and let you style however you want, just like your own hair. Use a wig cap with the hair a wig cap that fits the head shape of either you or the person for whom you are making the wig.
You will also need a wig stand or mannequin head to keep the wig stable during its construction; curved needles and durable thread; hair clips; scissors; and, if you are making a frontal or full-lace wig, lace closures or frontals. The materials should work in harmony as much as possible, and the wig cap and closure should be of compatible materials. Failing to achieve these details compromises the appearance and comfort of the finished wig.
Preparing the Foundation Before Stitching Begins
Preparing the foundation of the wig starts with the wig cap. Once everything is ready, it is time to set up the cap. The wig cap stretches over the mannequin's head to match the natural human head shape before it is T-pinned into place. Tension is critical; the cap must not shift while sewing the foundation.
After securing the cap in place, use chalk to mark the sewing lines—this is a necessary step. It is easier (and more efficient) to have everything marked before doing any actual sewing. Guidelines allow for good visual landmarks.
When marking, make sure to use scissors to cut through the cap material down to the guideline as a way of giving yourself an exit door when sewing to avoid unfortunate blowouts during the foundation step.
The Stitching Process and Track Placement
The essence of mastering the skills on how to make a wig is the actual sewing of the hair bundles onto the cap. You begin at the nape and work your way upward in consistent, U-shaped rows that mimic the natural direction of hair growth, with the added flourish of double threading and the fold-over method to finish each track.
If you can retain sufficient tension in the thread and keep the “gaps” between the tracks to a minimum without creating a structure that resembles a funnel and too much hair in one spot at the top, where the crown is, you will have made a wig that looks like it could grow out of your head.
Customising, Styling, and Finishing Touches
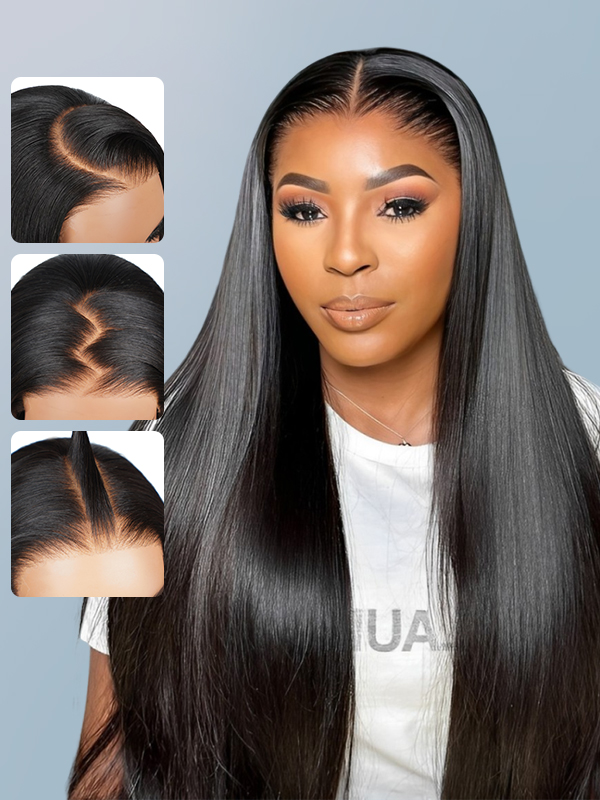
When all hair bundles have been sewn properly into place, the next step is to cut the lace meticulously just along the hairline. For this, one should make small zigzag movements with the scissors. This avoids having a straight, unnatural edge.
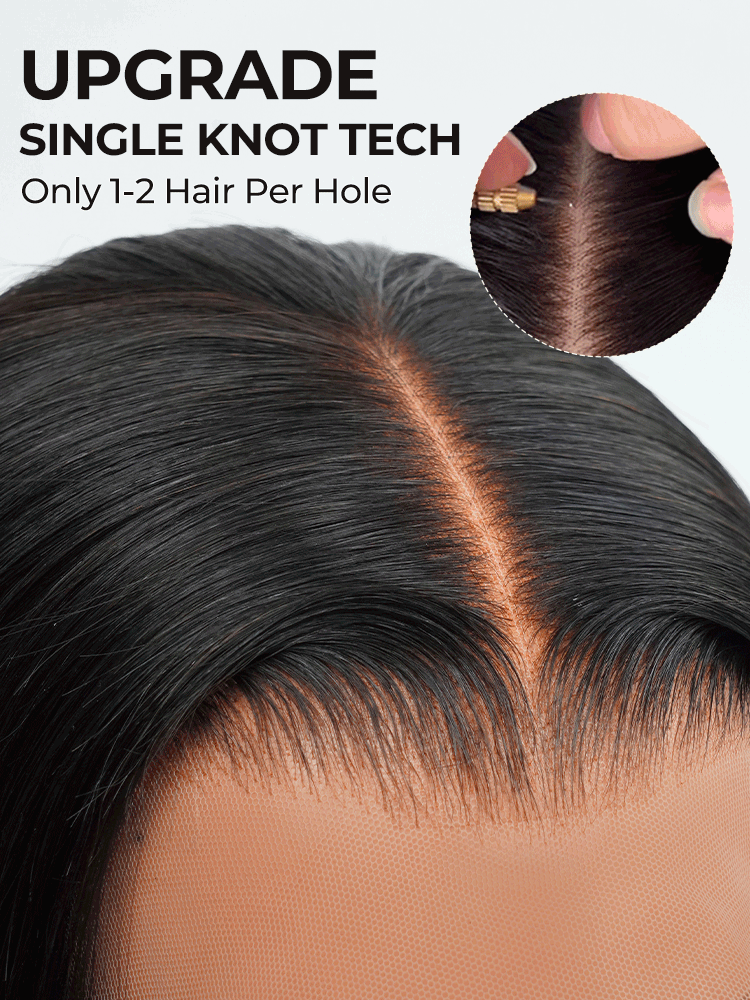
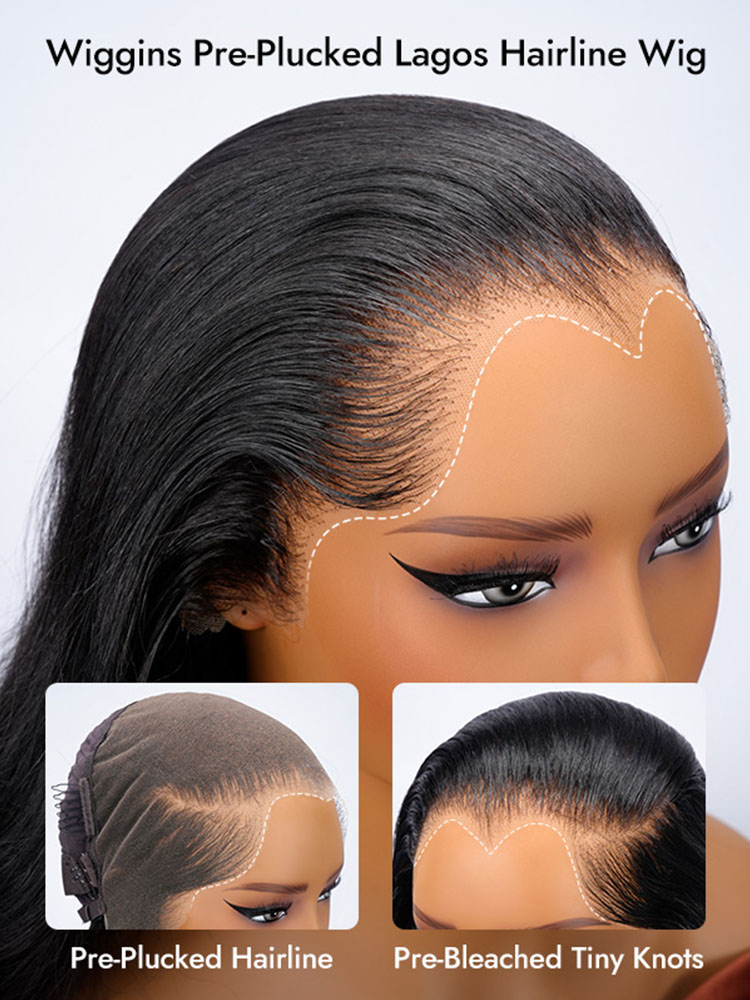
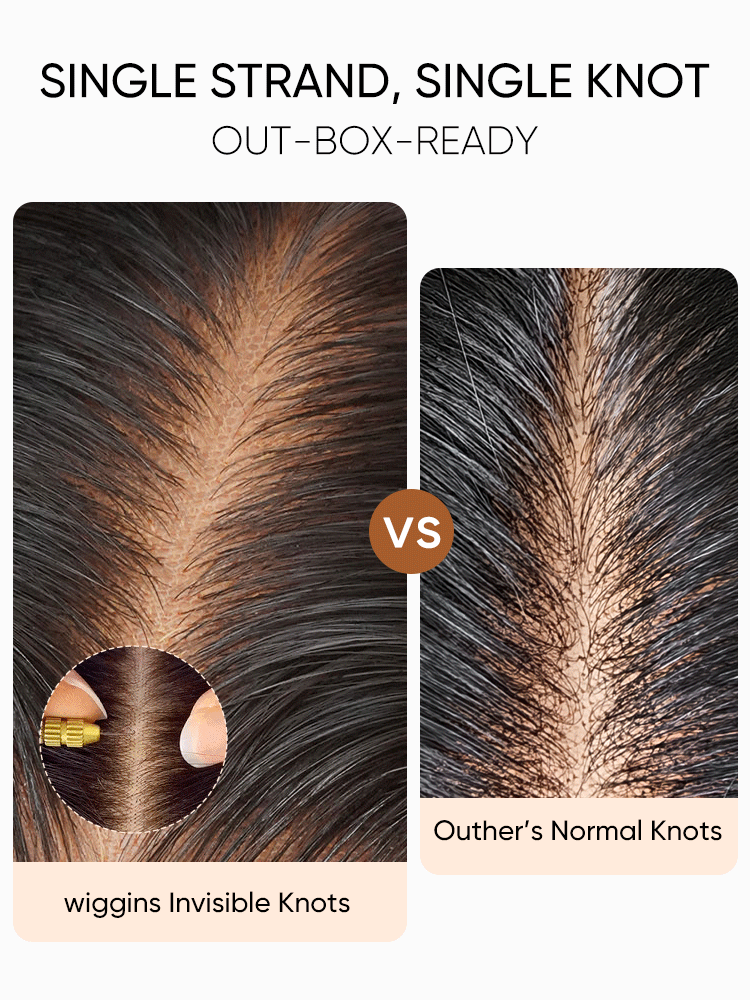
One should trim the hair altogether. Proper customisation also entails knot bleaching of the lace closure or frontal. This makes the scalp look way more realistic. Next, use a hot comb to apply equal parts of foundation and/or concealer to the underside of the lace.
Press the lace down along the natural part of your head. Do this also along the edges. This helps the parts and edges camouflage better with the skin if you should happen to wear the wig without adhesive. For a look that's equally badass but a little more showy, you can achieve the same look when wearing the wig with adhesive up top.
Long-Term Maintenance and Adjustments
Maintaining your handmade wig is as vital as the first step on how to make a wig. Wigs require regular care to remain healthy and capable of functioning as intended. A wig, like natural hair, can accumulate dirt and oil, so it is important to wash it regularly.
The best way to wash a wig is to first fill a clean sink or basin with cool water and add 1-2 tablespoons of wig shampoo. Turn the wig inside out, and gently swish it around in the soapy water for a few minutes.
Then, rinse the wig in cool, clean water, again wringing it out and avoiding what could mat the hair. After rinsing, condition the wig with wig conditioner in the same manner, using the same method to rinse the conditioner out.
There's no better way to preserve your wig's unique look than wearing it. If you will not be wearing it, store it on a mannequin head or in a silk bag. Either way, be sure to protect it from dust, using a clean wig cap if necessary. Dust accumulation could dry the wig and make it more prone to breakage. For wigs left unworn for several days, lightly mist with specialized wig conditioner, then gently detangle using a wide-tooth wig comb to maintain the fibers.
Recommendation
When you're prepared to create your ideas for custom wig making with top-tier tools and luxurious hair bundles, WIGGINSHAIR has a splendid selection of 100% human hair, lace frontals, closures, and trimmings that make the wig-making process—if you're a beginner or are otherwise uninitiated in the art of how to make a wig—seamless, stylish, and professional.